Introduction
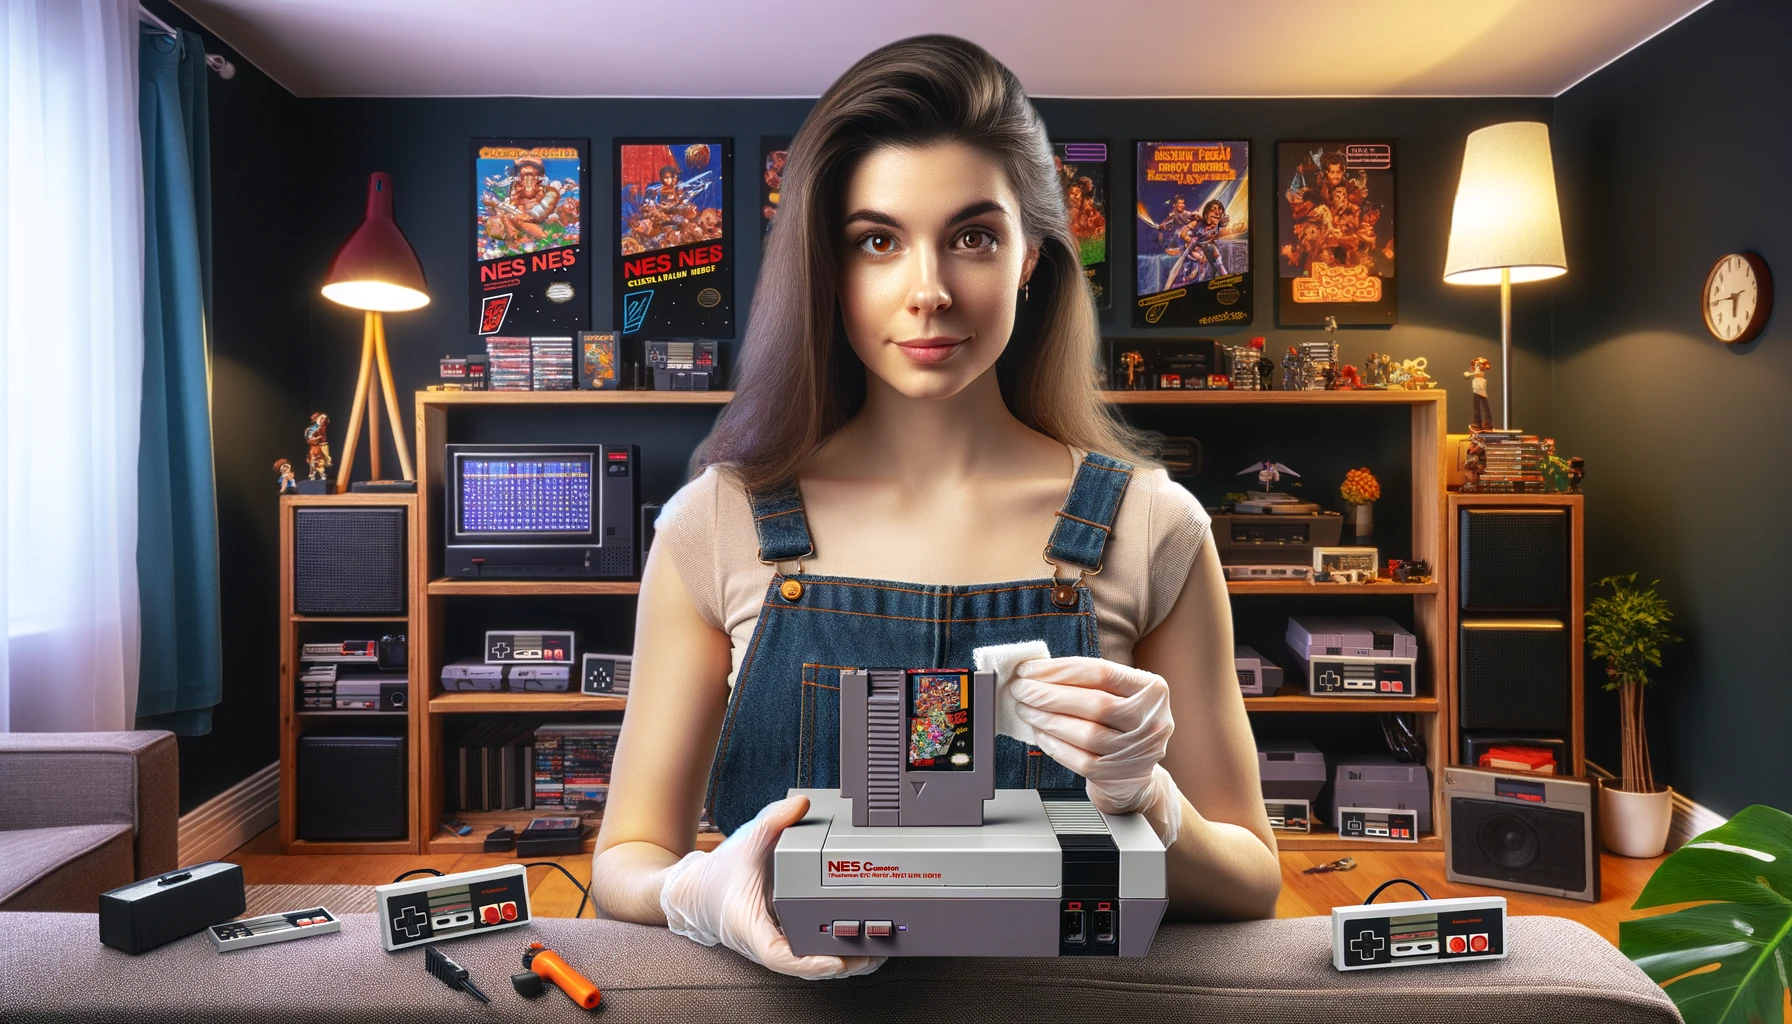
As any dedicated gamer knows, maintaining your game cartridges is essential for an uninterrupted gaming experience. Dirty or malfunctioning game cartridges can lead to frustrating issues like freezing, glitches, and poor performance. In this comprehensive guide, we’ll walk you through the best methods for cleaning game cartridges, ensuring they stay in top-notch condition. Whether you’re a retro game enthusiast or a modern console owner, these techniques will help you enjoy your gaming collection to the fullest.
Why Cleaning Game Cartridges is Important
Before we dive into the cleaning process, let’s understand why it’s crucial to keep your game cartridges clean:
- Optimal Performance: Clean cartridges ensure that your games run smoothly without hiccups or slowdowns. It’s essential for a seamless gaming experience.
- Extended Lifespan: Proper maintenance can extend the lifespan of your game cartridges, preserving your gaming investments for years to come.
- Preventative Maintenance: Regular cleaning can help prevent issues from arising in the first place, reducing the need for costly repairs.
Materials Needed
Before we get started, gather the following materials:
- Isopropyl Alcohol (70% or higher): This is the primary cleaning agent for game cartridges.
- Cotton Swabs: Perfect for applying the alcohol to the cartridge contacts.
- Compressed Air: Helps remove loose debris and dust.
- Cleaning Solution (optional): Some gamers prefer specialized cleaning solutions, but isopropyl alcohol works just as well.
- Soft Cloth or Microfiber Cloth: For wiping the cartridge clean after cleaning.
Step-by-Step Guide for Cleaning Game Cartridges
Follow these steps to clean your game cartridges effectively:
- Preparing the Workspace: Find a clean, well-lit area to work. Ensure you have all your materials within reach.
- Inspecting the Cartridge: Examine the cartridge for visible dirt, dust, or debris. Remove any loose particles with your fingers or a soft brush.
- Cleaning the Contacts: Dip a cotton swab into the isopropyl alcohol and gently clean the metal contacts on the cartridge. Rub each contact thoroughly, ensuring you reach all areas. Replace the swab if it becomes too dirty.
- Using Compressed Air: Hold the cartridge horizontally and use compressed air to blow out any remaining debris or alcohol residue. Make sure not to tilt the cartridge upwards to prevent the alcohol from seeping inside.
- Drying the Cartridge: Allow the cartridge to air dry for a few minutes or use a clean, dry cloth to wipe it down. Ensure that no moisture remains before reinserting it into your console.
Alternative Cleaning Methods
While isopropyl alcohol is the go-to method, here are some alternatives you can try:
- Eraser Method: Gently rub the eraser end of a pencil on the cartridge’s metal contacts. It can effectively remove oxidation and dirt.
- White Vinegar Solution: Mix equal parts white vinegar and water, dip a cotton swab into the solution, and clean the contacts. Rinse thoroughly with water and dry before use.
- Baking Soda Paste (for advanced users): Create a paste with baking soda and water, apply it to the contacts, and gently scrub with a toothbrush. Rinse and dry thoroughly.
Remember that these alternative methods might not be suitable for all cartridges and should be used with caution.
Dos and Don’ts
Here are some essential dos and don’ts when cleaning game cartridges:
Dos:
- Test cartridges before and after cleaning to ensure improvement.
- Handle cartridges with care to avoid physical damage.
- Store cartridges in protective cases to prevent dust and debris buildup.
Don’ts:
- Use abrasive materials or harsh chemicals.
- Apply excessive force during cleaning.
- Submerge cartridges in liquid, as this can damage the internal components.
Maintaining Clean Cartridges
To keep your game cartridges clean and in top shape, follow these maintenance tips:
- Proper Storage: Store your cartridges in protective cases or sleeves to shield them from dust and damage.
- Regular Testing: Periodically test your cartridges to identify and address issues promptly.
- Avoid Dusty Environments: Keep your gaming area clean and free from dust to reduce the risk of contamination.
Troubleshooting
If you encounter persistent issues despite cleaning your cartridges, consider seeking professional help or referring to manufacturer guidelines for specific console models.
Conclusion
Keeping your game cartridges clean is a simple yet essential aspect of being a responsible gamer. By following the steps and tips outlined in this guide, you can ensure that your gaming collection remains in excellent condition, providing you with countless hours of uninterrupted gameplay. Regular cleaning and maintenance will not only enhance your gaming experience but also extend the lifespan of your beloved cartridges.
Don’t let dirty game cartridges disrupt your gaming adventures. With the right materials and a bit of care, you can ensure that your games run smoothly and look their best, making every gaming session a memorable one.
Additional Resources
For more gaming tips and tricks, as well as in-depth console-specific guides, be sure to check out our other articles on gaming maintenance and troubleshooting. If you have any questions or want to share your own experiences, please feel free to leave a comment below. Happy gaming!
